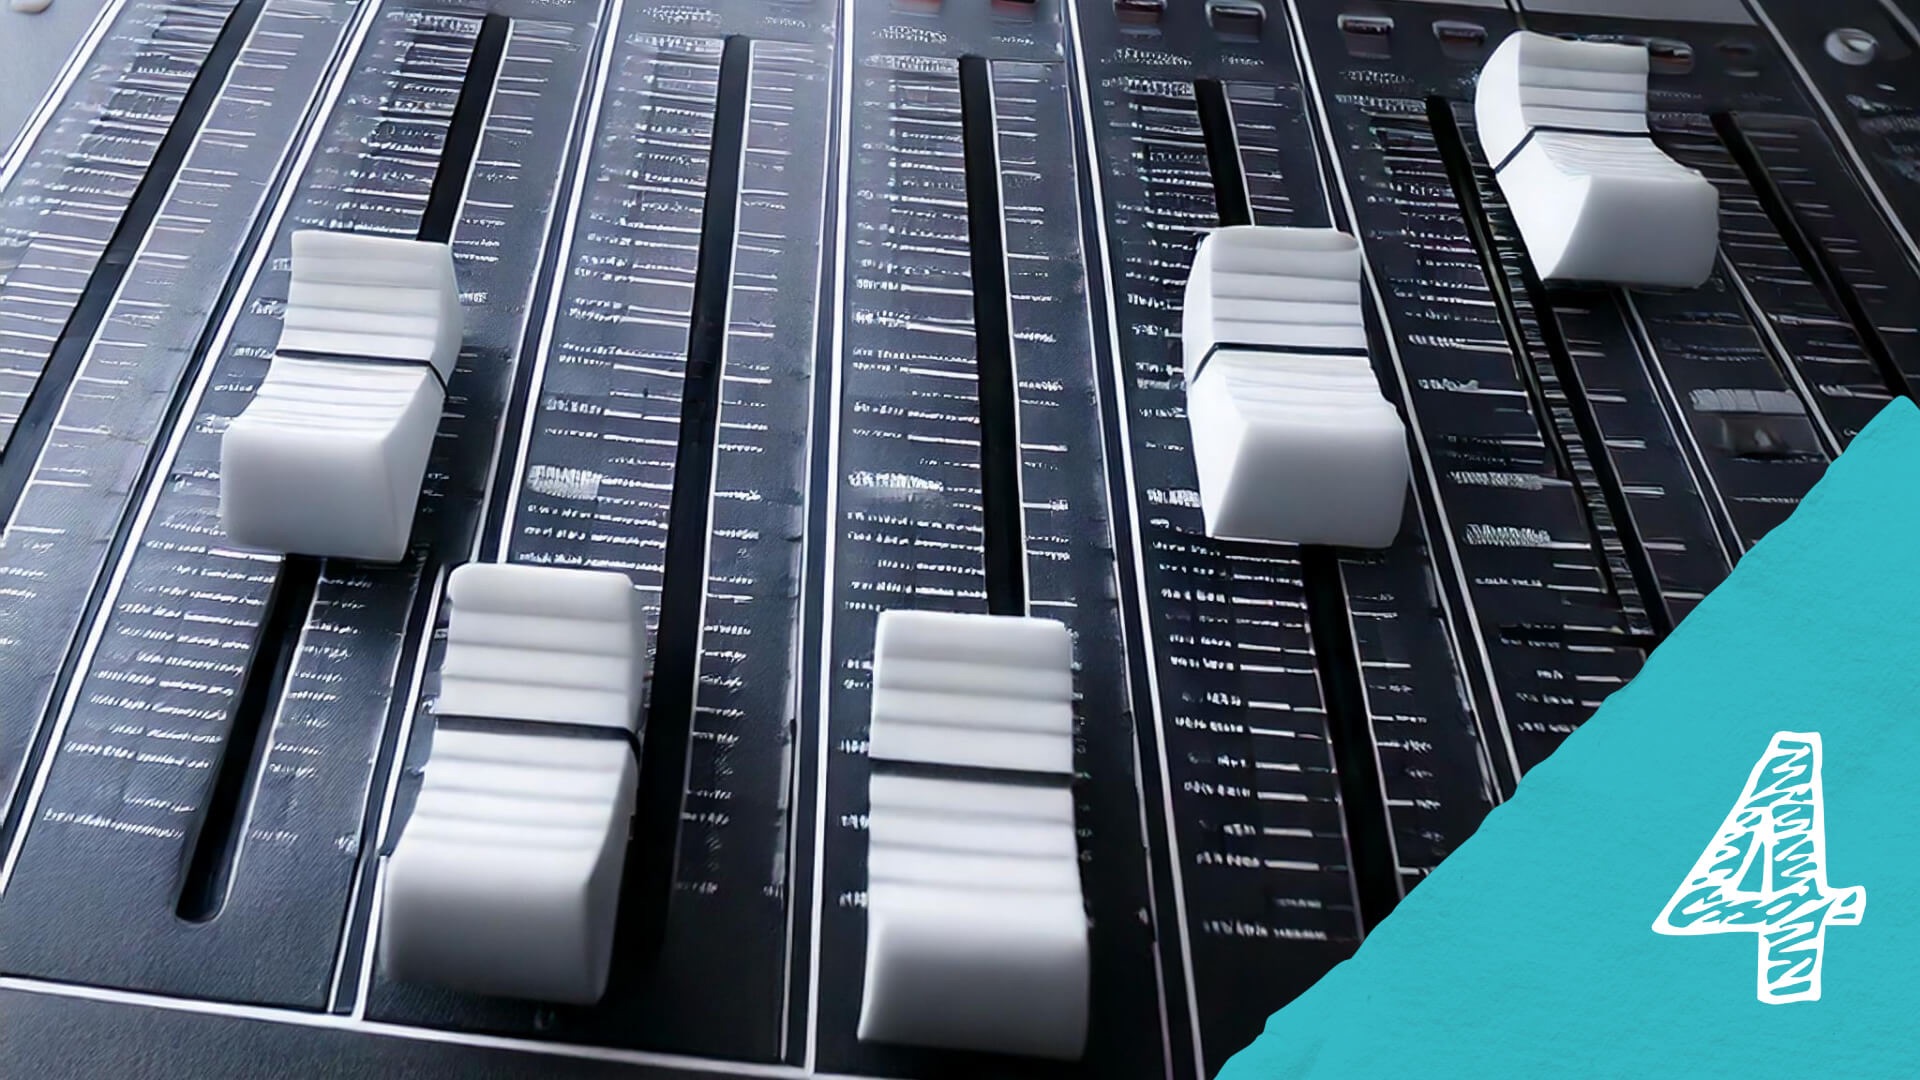
This is part four in a series of blog posts titled faders come down from zero looking at ways to improve your use of music production tools at your disposal, looking more towards how you handle your projects from a work flow point of view rather than a look at specific equipment.
Faders come down from zero
This bit – keep in mind that I mixed for many years on an analogue desk and would always lean to this if the option is available, this is the reason for where my thoughts come from. Faders come down from zero. Full stop. If a sound is not loud enough to work with, be it recording or playback, pushing up the fader is the automatic answer. Actually, the answer is to boost the input of a channel. Think of it this way, your sound source is at point A, we are hearing it at point B, and ultimately, it will end up in our computer – point C. If the sound is too quiet, we need to adjust it at point A, where it originates, not point B where it is heard. This is more for recording sounds, but the same rule can be applied to sounds and projects all in the box. If the sound is quiet, no manner of processing is actually going to do it justice. Anything that is added, will be boosting the noise floor and any other unusual artefacts that can crop up along the way. It follows on from the most sensible bit of information, that any one imparting production techniques, will surrender. Incoming signals should be as loud as possible without clipping and distortion. Which in turn allows you to reduce the volume of the part if needed afterwards, rather than having to fight to rebuild gain structure.
At the same time as working consciously with faders, we need to be in charge of our gain control for that channel. To ensure that the signal is as strong as possible, make sure the fader is set at zero, and then bring up the gain so that we have a healthy signal. This again can be used for incoming sounds to be recorded and also elements that are being played back from our sequencer through the desk. If we maintain the effort to keep strong signal at all points in our signal flow, the resulting sonic balance will be much easier to handle, and give more room for our creative mind to get involved with the production process. This will also help us control dynamics in a track because there is more consistency to work with in terms of signal strength across a project.
Remember… each track deserves its own production
Reverbs can be a tricky game. I love a sense of space around instruments bur yet it’s all too easy to drown your track in reverb. So to start with, don’t use too many different types of reverbs in your track as this can lead to a confusing sense of space. Extreme example would be, a drummer in a canyon and a vocal in short corridor, this would sound a bit mismatched to say the least. Aim to work with two reverbs to start with, every bodies taste is different, and each track deserves its own production. But build on that with a couple of customised duplications of those reverbs with different length decays so that some elements don’t sink as far back in the track.
Subtractive eq is the most valuable tool that you will use. There is another automatic action when mixing and this is to boost with eq. This is probably the main cause of mix issues for most producers. Think of your eq and sounds like a jigsaw. You can’t put two pieces of a jigsaw together that are unable to connect. So if you try to squash your sounds together and they won’t fit, maybe they are taking up too much real estate in the sonic spectrum. It is amazing how much space you can create by making a few cuts to some sounds. For example, and in very black or white situation, a hi hat, is very high pitched in comparison to the kick drum. Yet the frequencies that are “unused” but the hi hat, will still pass through processing that you apply, so surely it makes more sense to only apply the processing to the part of the sound that you want to alter. So, remove all the frequencies that don’t help define that sound. Thus leaving more space for sounds that do sit in that register.
Develop your work flow
But what if your at the final push. Still struggling to make your track perfect. Well, half the producers and engineers out there are either in the same boat as you or have been at some point in their music business career. Aim to get as far as you can. Leave the track and move on to something different. After a day or so, come back to the track and make the changes that are needed. You don’t want to be in a situation that means you need to undo your hard work, but rather the opposite – just to tidy it up.
By trying to incorporate as many work flow techniques as possible, I have found that the way my projects are laid out have become consistent – not without a conscious effort to move in that direction – but it has made the way I work on projects, with bands, with artists etc etc more manageable, especially when the work load is high. Over all, by being more organised from the beginning of a project, means that the productivity level whilst moving through mixes goes through the roof and I know where I stand, and subsequently, where to move forward too.


